Developer Tools Console
To follow along with this exercise, you will need to download and un-zip this starter kit.
Intro
The console is a great tool for learning JavaScript, you can read all about it here. It allows us direct access to the JavaScript event loop so that we may execute statements in real time! This course will rely heavily on the console to test out new techniques and skills; it is expected that students will familiarize themselves with how to use the console (access and execute statements) before the end of the first week of class.
There are several ways to access the console:
- Right-click on an element in the page and select developer tools from the context menu
- Press [F12] or ctrl+shift+j (Windows) or cmd+option+j (Mac)
- From the customize menu, select More tools and then Developer tools
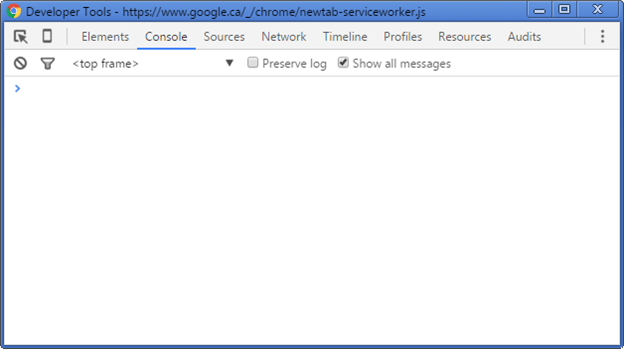
Fig1. Chome Developer Tools Console
Exercise Steps
- Open your Chrome web browser
- Open the accompanying HTML document (console_exercise.html) in the browser (drag and drop)
- Open the console using any of the aforementioned methods
Selecting Elements
In the browser, the document object reference provides several methods for selecting elements in the DOM:
document.getElementById(selector)– returns a single matched elementdocument.getElementsByTagName(selector)– returns a list of matched elementsdocument.getElementsByClassName(selector)– returns a list of matched elementsdocument.querySelector(selector)– returns the first matched elementdocument.querySelectorAll(selector)– returns a list of matched elements
In this exercise we will only be looking at getElementById and querySelector (the other methods will be explored later). Each of these functions returns the matched element (if any) from the DOM.
Exercise Steps
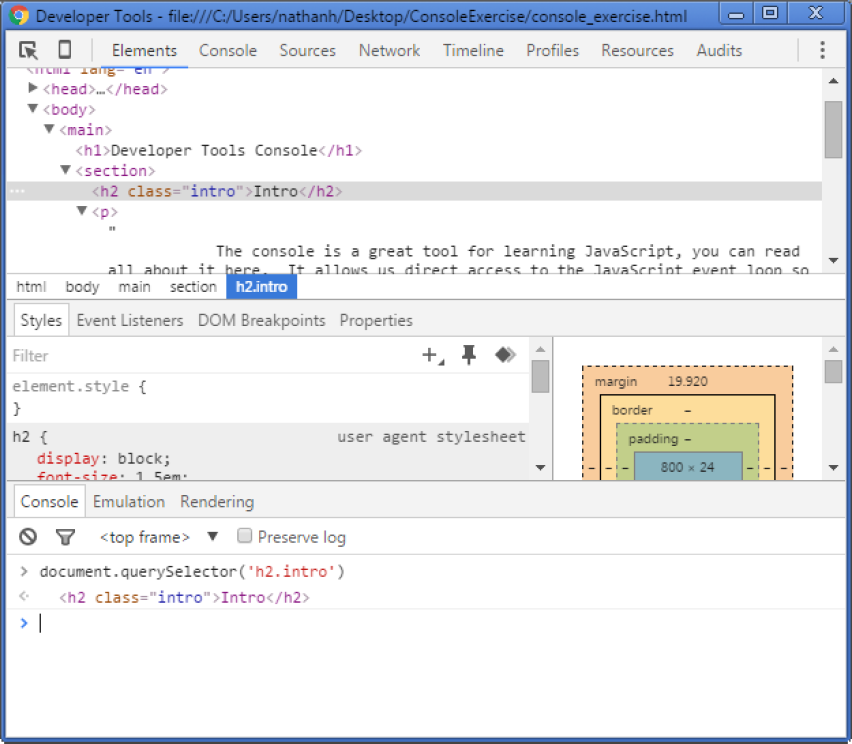
Figure 2. Example selecting h2.intro
- Open the accompanying HTML file (console_exercise.html) in the browser
- Using either of the boldface functions above, select the following in the console:
- The main h1 heading
- The image with id figure-img
- The first paragraph (p) element
- The section h2 heading with class intro
Variables
Often you will want to store a reference to these elements (and other needed values) so that you can perform some work on or with them. Variables allow us to do just that.
We will use the reserved word var to declare any variables we will need. Simply put, a variable is made up of two parts: an identifier (name) and a value. For example, to declare a variable to hold someone's first name you might use the following statement:
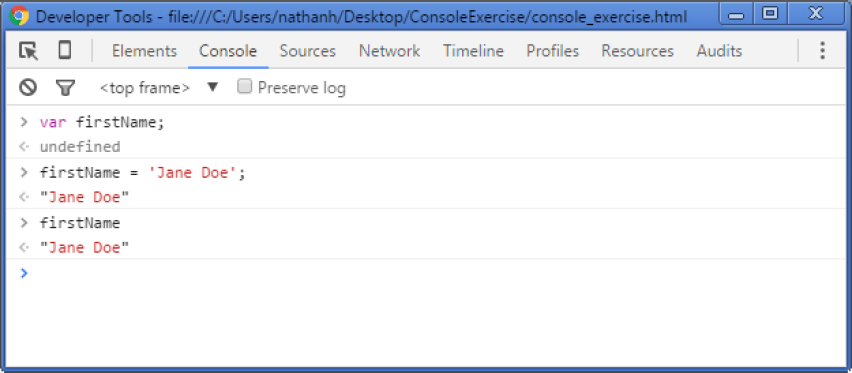
var firstName;
This only declares an identifier that we can reference, it currently has no associated value. To assign a value to the variable we use the '=' (assignment) operator. For example, to assign the string 'Jane Doe' to the firstName variable you would do the following:
firstName = 'Jane Doe';
This will associate the identifier firstName with the value 'Jane Doe' [note: this is somewhat of a simplification and the deeper details will be covered later in the course]. Go ahead and try it in the console.
Exercise Steps
Figure 3. Sample output from the above steps
- Open the console (if not already open)
- Type in the first statement to declare the firstName variable
- Next, type in the assignment statement that will assign firstName a value
- Now, whenever you type in the variable identifier firstName, you should see the associated value
Modifying Elements
In the previous example, you assigned a simple string value to a variable, but we can assign anything in JavaScript to a variable... including elements!
Figure 4. Example reading the innerHTML of the main h1 element
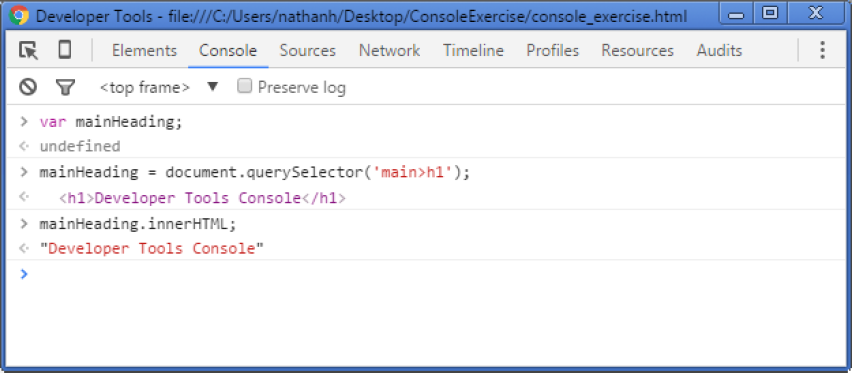
Elements in the DOM that may contain child content (i.e. parent elements) expose their child content through a property named innerHTML. This property can be read (accessed) or manipulated (replaced) through JavaScript. Once an element has been selected, you can access its innerHTML property through the '.' (dot) operator.
As an example, let's change the innerHTML for the h2.intro element to read Introduction.
Exercise Steps
Figure 5. Final output of previous exercise steps
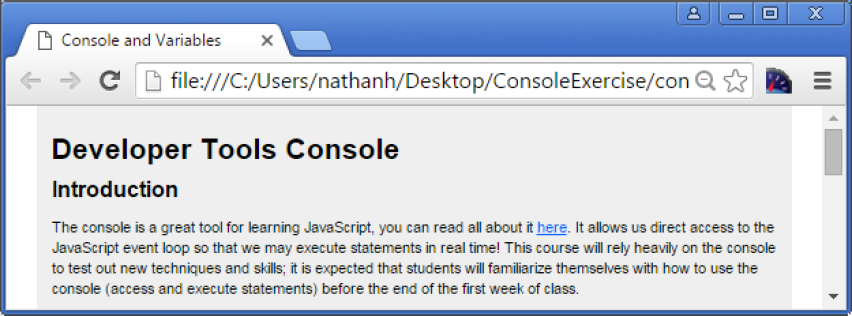
- Open the console (if not already open)
- Declare a variable identifier to reference the h2.intro element, name the variable intro
- Combine what you know about the assignment operator and selecting elements to assign the element to the variable
- Once assigned, use the variable name followed by the '.' operator to access the innerHTML property
- Just as you can 'get' the innerHTML from the element (see Figure 4) you can also 'set' the value as well by using the assignment operator and the new string value; in this case, Introduction