Working with Arrays
Collections of Things
To follow along with this exercise, you will need to download and un-zip this starter kit.
Arrays are very similar to NodeLists. The way in which we can work with them is very similar (if not identical) and the two differ in that they support different methods (more on that can be found here).
This exercise has us implementing an extremely simple image carousel. The starting interface will appear as follows:
Figure 1. Exercise starting user interface
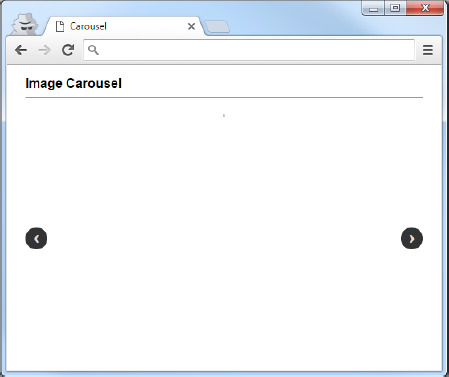
In order to get this working, we’ll need a list of images (stored in an array perhaps…) that we want to cycle through. The available images are located in the images/ directory of the project folder.
Open the main.js file and first create an array to hold all of the images we wish to add to the carousel:
Example 1. Creating an array of image names
var images = ['mountain1.jpg', 'mountain2.jpg', 'mountain3.jpg'];
This array has three distinct elements (which happen to be strings) that can be iterated over to provide an image for our main display.
The default interface doesn’t load an image as it’s dependent on what’s in our array. So add some code to display the first image in our array in the main display:
Example 2. Displaying the first image on the page
...querySelector('.carousel>img').src = 'images/' + images[0];
Figure 2. Much better!
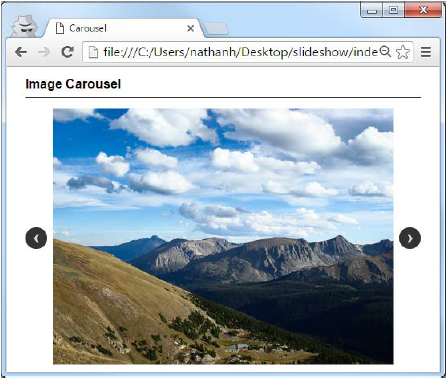
The next step is to assign a click event listener for our carousel controls. Utilize event bubbling and place the event listener on the carousel directly, and then check the event target for .prev or .next. (note: the document. and EventListener portions have been left out to save space):
Example 3. Adding an event listener for the carousel controls
...querySelector('.carousel').add...('click', function (evt){
  var target = evt.target;
  if (target.classList.contains('control')) {
    console.log('control clicked...');
  }
  });
The above code ensures that we only track when one of the controls has been clicked. Now you can check specifically for which one it was and update the image display accordingly.
Displaying Images
Now that the controls are in place, it’s time to work on navigation. Given that we have two controls, we either want the carousel to display next image in the array or the previous one. The issue you will run into is that the idea of next and previous are relative to the currently displayed image. This means that we have to keep track of the currently displayed image in the array. Add a currentImg variable right after the array declaration to track what the index is for the currently displayed image:
Example 4. A variable to track the location of the current image
var images = ['mountain1.jpg', 'mountain2.jpg', 'mountain3.jpg'];
var currentImg = 0;
Good. Last step. When one of the controls is clicked, we need to either add one to the currentImg (moving to the next image) or subtract one (moving to the previous image). We can use a simple decision structure to determine which operation to perform and then update the src of the carousel main display image:
Example 3. Adding an event listener for the carousel controls
...querySelector('.carousel').add...('click', function (evt){
  var target = evt.target;
  if (target.classList.contains('control')) {
    if (target.classList.contains('next')) {
      // move to the next index in the array
      currentImg += 1;
    } else if (target.classList.contains('prev')) {
      // move to the previous index in the array
      currentImg -= 1;
    }
    // display the new current image
    ...querySelector('.carousel>img').src = 'images/'
    + images[currentImg];
  }
});
You should now have a basic working carousel, with a huge flaw… what happens when you try view the next image and there is no next image, or previous image?